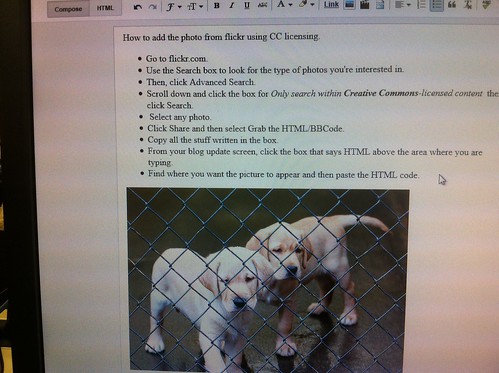
- Go to flickr.com.
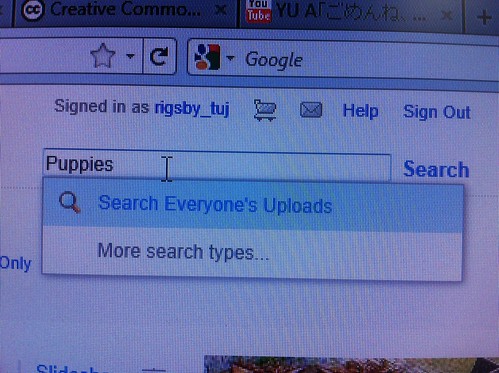
- Use the Search box to look for the type of photos you're interested in.
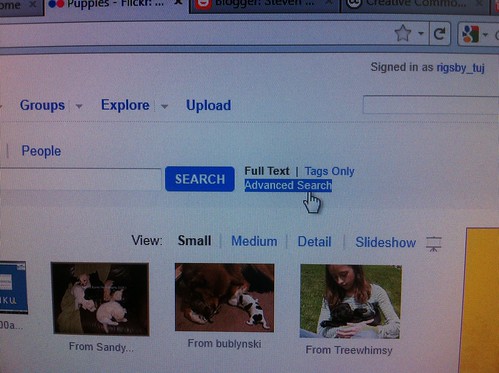
- Then, click Advanced Search.
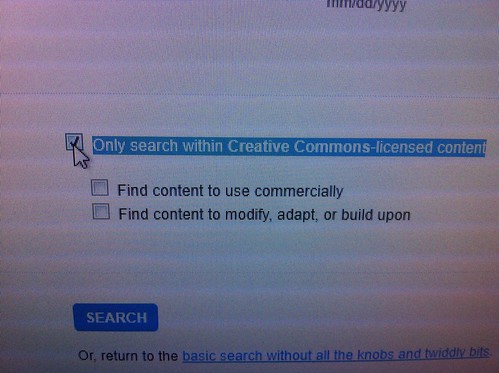
- Scroll down and click the box for then click Search.
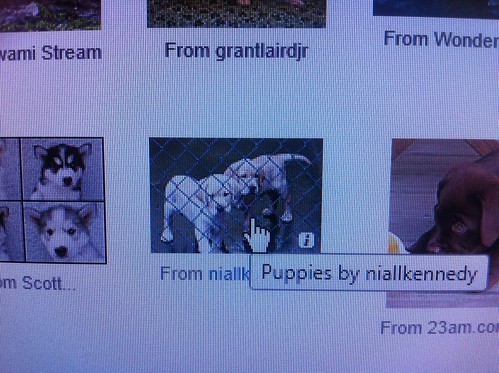
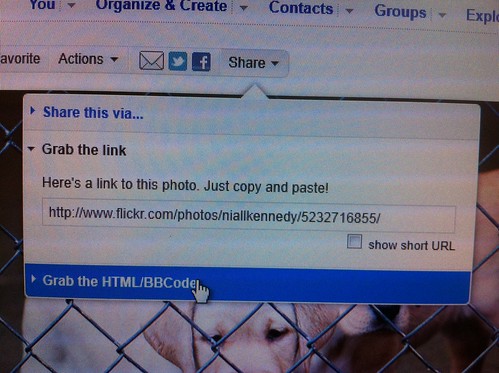
- Select any photo.
- Click Share and then select Grab the HTML/BBCode.
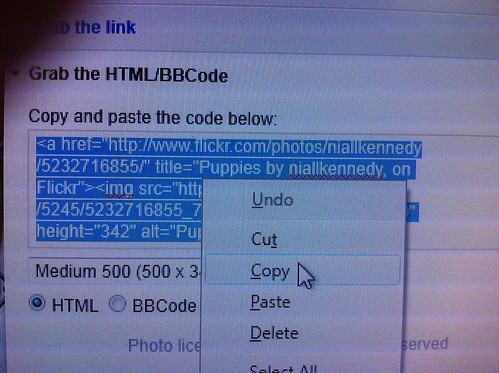
- Copy all the stuff written in the box.
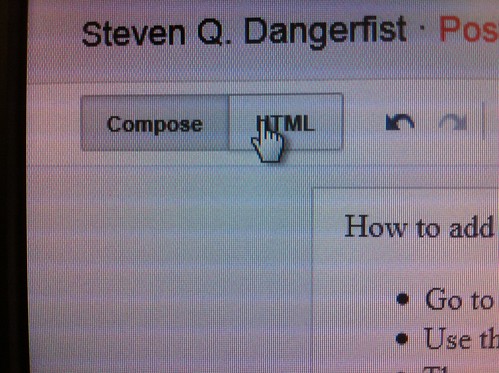
- From your blog update screen, click the box that says HTML above the area where you are typing.
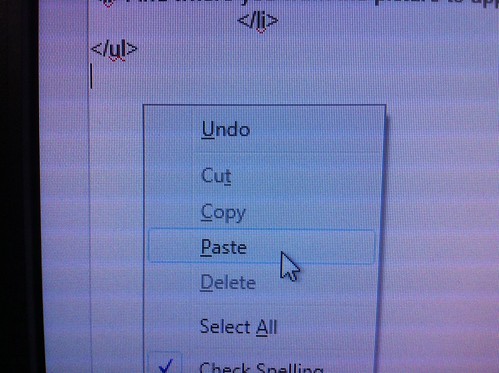
- Find where you want the picture to appear and then paste the HTML code.
- When you go back to Compose the image will appear.
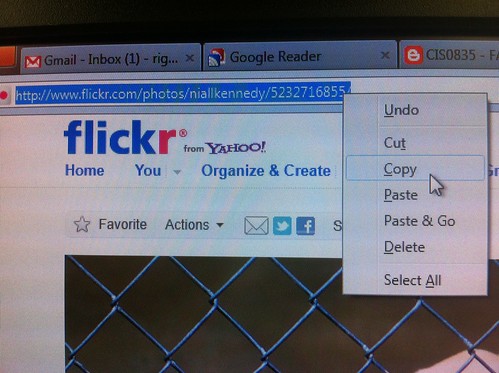
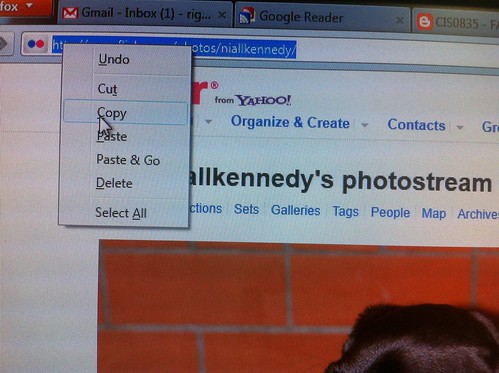
- Type the following: Image: (photo's name) by (photographer's name) through CC licensing.
(Like I've shown at the bottom of this blog post) - Make (photo's name) a link to the flickr page of the image.
- Make (photographer's name) a link to their flickr photostream.
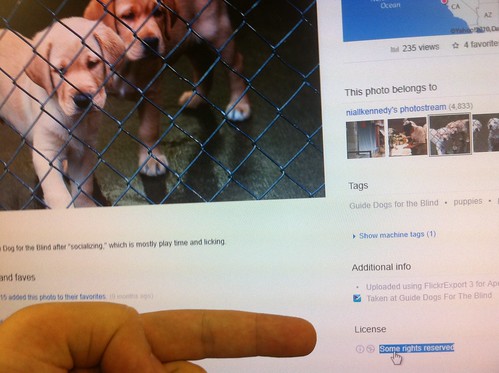
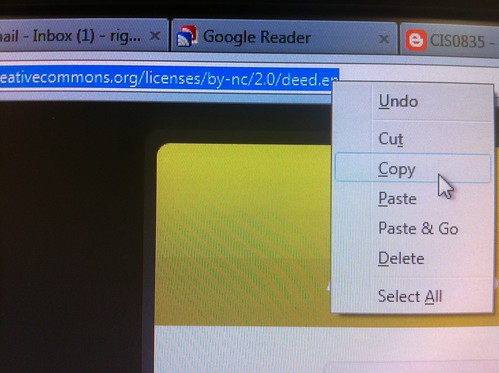
- From the photo's page, click Some rights reserved in the lower right.
- Copy the address of the page that comes up, use that for the link where your blog says CC licensing.
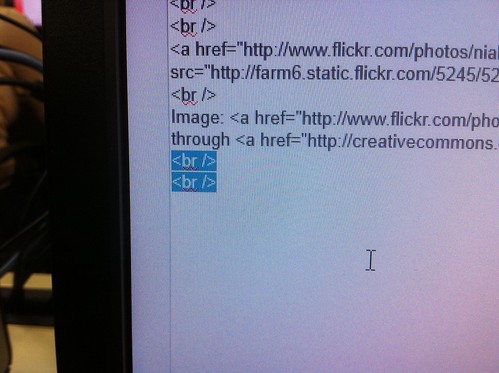
- One problem with embedding the photo in the html is that sometimes it won't let you go past it in Compose mode. The way to get around this is to add <br/> in the HTML mode after where the embedded portion is.
The end result will look like this.

Image: Puppies by niallkenedy through CC licensing
Stay tuned for my How to Embed Videos step by step post.
This was fairly simple to make. I wrote out the the bulleted list of what to do and took a snapshot with my iPhone of each step. When I reached the end, I uploaded all of the photos to flickr. Then, in similar fashion to how the tutorial teaches you to embed the photos, I embedded the step by step photos into the bulleted list in HTML mode. I then switched back to Compose mode and resized the images (simply clicked on them which brings up a dialog box where I clicked Medium to resize them). I double checked to make sure the photos were under their correct steps (and corrected the ones that were mistaken).
ReplyDeleteI was going to do the video embed method in the same post, but decided to put it in another post that I'll do over the weekend or whenever I have a free minute.
:O
ReplyDeleteNICE! This totally answers all my questions! except one...is there any difference between doing that to a photo and doing that to a YouTube video? :)
ReplyDelete